Appearance
Getting Started
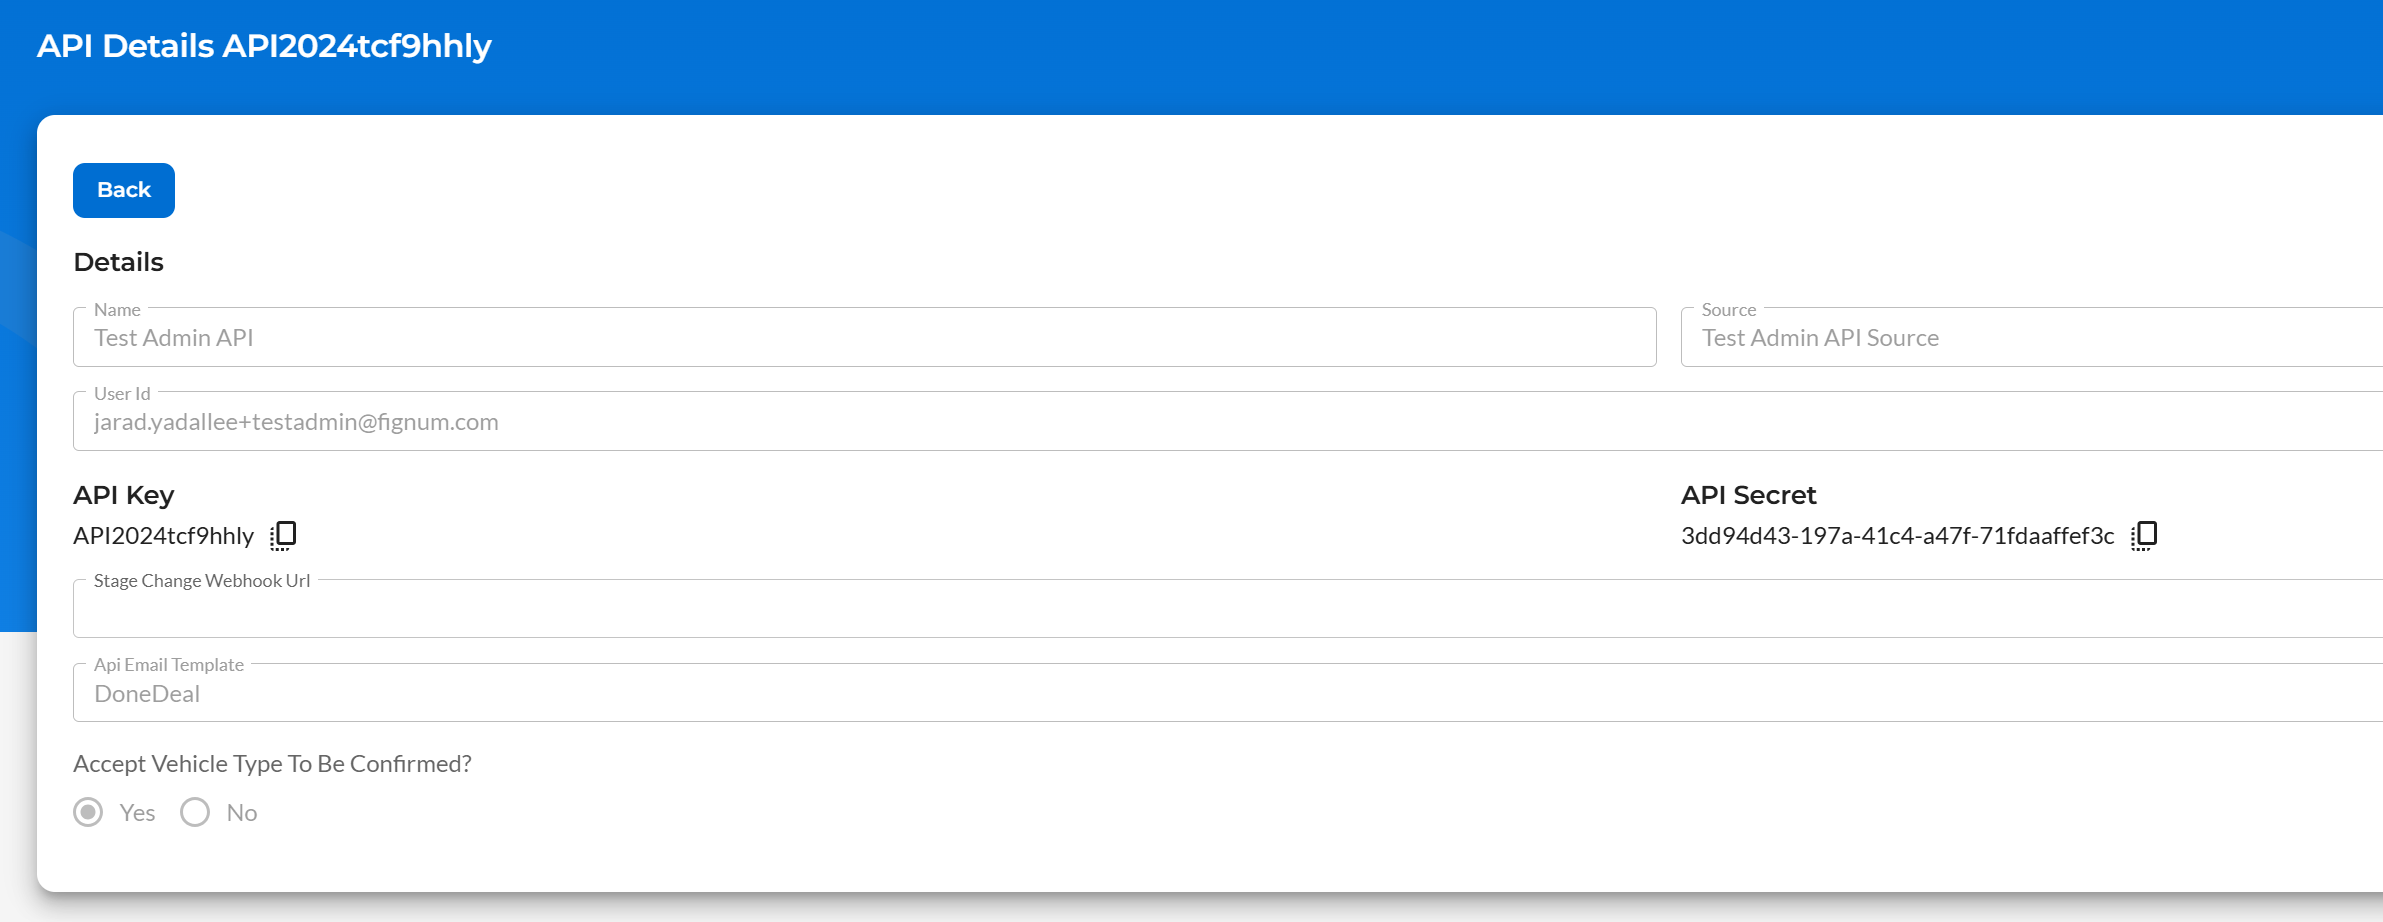
Step 1. Create an API key
To create an API key, you must request to create a user account in Close Connect. When that's complete, first sign in to your account in Close Connect, go to the admin page, select the API Client tab, and then create a new API Client or select an existing one, and take note of the API Key and API Secret.
INFO
When creating a new account in Close Connect, if you receive an "Account Pending" error, please contact us with your email address, name, and company details. We will be in touch.
For more information, visit the following resources:
Step 2. Submit an application
Submit your first application by populating an ApplicationModel object and posting it to the Submit Application endpoint.
If the data is correct, and there are no validation errors, the application will be immediately sent to the lender for underwriting. If there are validation errors, it can be fixed in one of two ways:
- the request may be retried if these errors are fixed, or;
- the application may be opened in the Close Connect UI by an authorized user, edited to fix the validation errors, and submitted manually.
INFO
An application can be owned by a user different than the user who created the application. In this case, both the creating user and the owner can edit/update the application.
For more information, visit the following resources:
Step 3. Receive case updates
Once an application has been created successfully, you may monitor the status of the case with the Get Application Status method, or by subscribing to the StatusChanged webhook event.
For more information, visit the following resources: